I`m done until I build some more boards and yes
I hear you all groaning… not more boards !!!!
No my next project will be some Infinity boards so
rest easy.
Anyway back to the Normandy boards. I have added and finished
two new boards to make a total of six for the playing
area(4 x 6). The latest two have a nice river obstacle with
hump back bridge. They also contain a fixed defensive trench
line and artillery battery area. The artillery battery area and trench
line are camouflaged to stop the allied Typhoons rocketing the
hell out of place.
Please note you can click on all pictures to enlarge
and some of the pictures are quite big.

I have added a full Panzer Lehr Division and the British 11th
Armoured Division to the board so you can see how it all feels
to play with.
Arty preparing to fire.

Target spotted.

View from above.

Look out the boss is watching.

Life in the trenches.

Ok whos walked mud into the trench ?

British forces prepare to enter the bocage.

Panthers trying to deploy in bocage.

Panzer Grenadiers moving up to join the action.

German infantry moving up.

Panthers stuck in a sunken lane.

MKIV in ambush position.

Moaning minnies at home in the thick hedgerows.

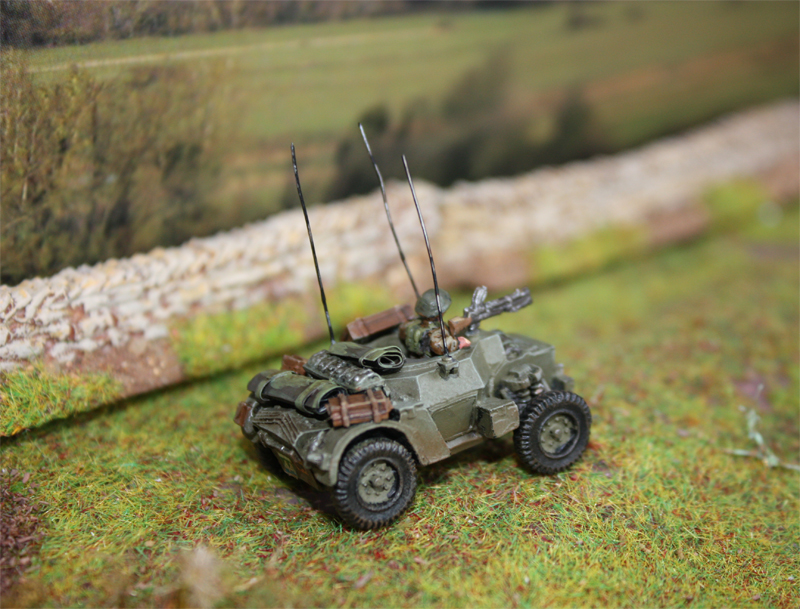
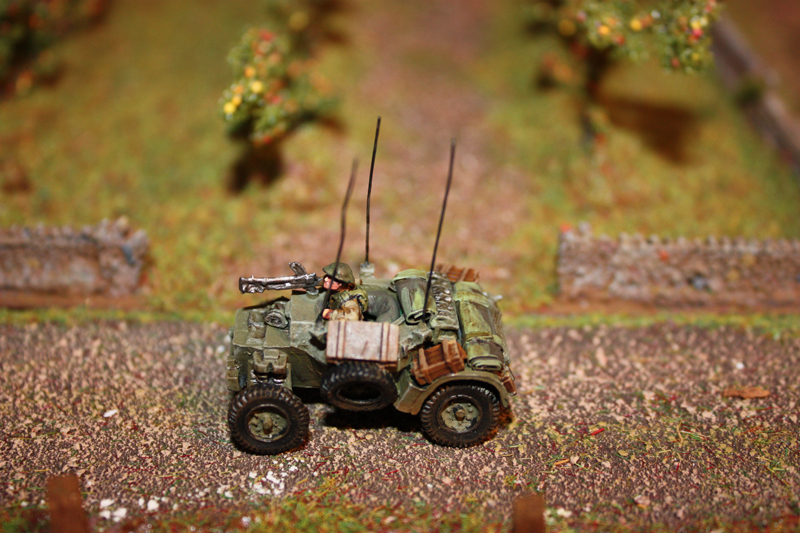
Halftrack traffic jam plus a bit of anti air.

Anybody bring any hedge cutters ?

Hold on, hump back bridge.

Lost Panzer IV.

JagderPanzer IV`s defending the left flank.

Thankfully the sun came out and allowed me to take the
photos above.
I will post up a battle report soon to see how bocage fighting
pans out 🙂