Archive for the ‘Plastic Soldier’ Category

I think a bit of background is needed to start

this post off and to explain why I happened to have

six Tigers tanks just lying about !

I recently attended a wargames event with two friends

and we were admiring a beautiful WWII board set up for

FOW which happened to have an SS Division fielded on the

board. Admiring the SS Tigers my friend pointed out he needed

to buy some more Battle Front Tigers for his army and the lad

running the table pointed out they were not Battle Front Tigers

and belonged to a different manufacturer ! We argued against this

,until the lad let us kindly handle the tanks which resulted in

humble pie on our behalf. This got us all thinking because at a

distance of two feet none of us could tell the difference.

So knowing I had two different types of 15mm Tigers at home and

my mate had a third manufacturer we decided to do a bit of research

and buy the remaining 3 on the market.

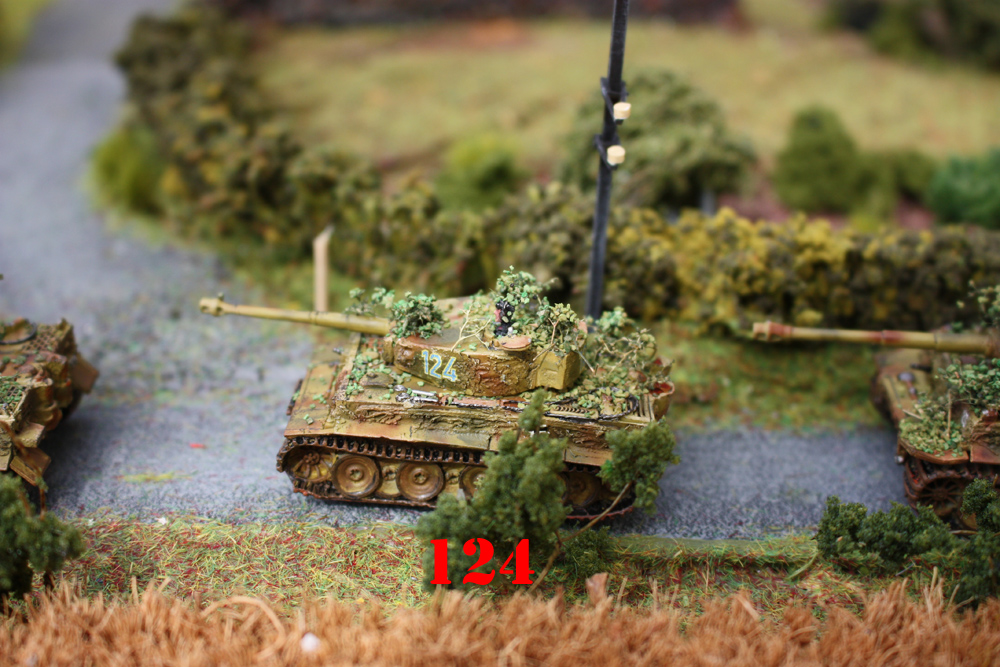
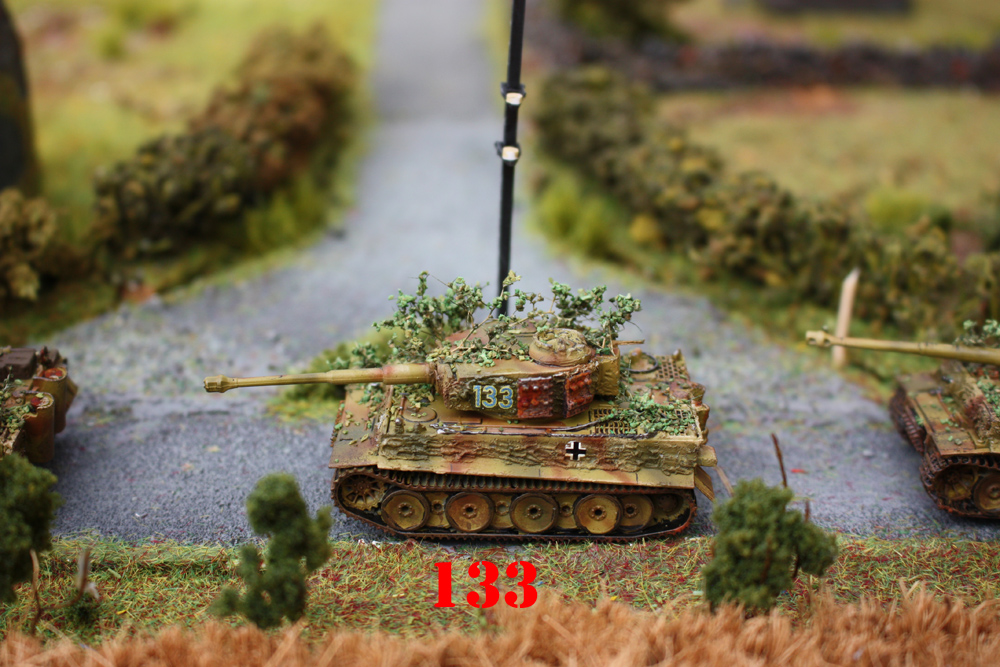
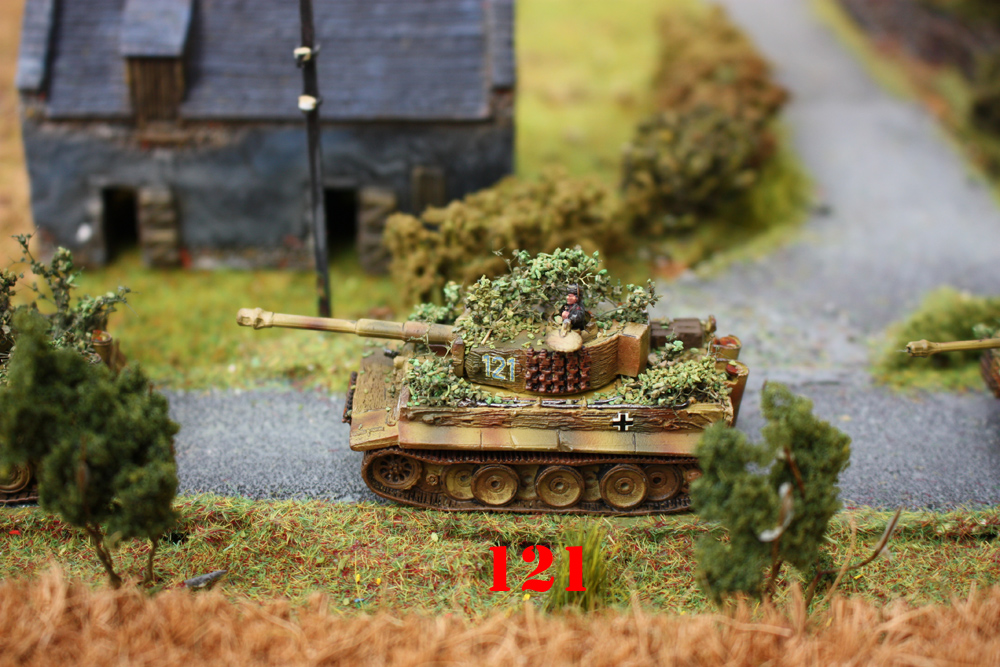
The plan was simple. Compare the 6 main manufacturers of 15mm Tiger

tanks(sorry if your product is not included) and then devise a cunning

plan to test our eagle eyed wargamers to see if they can spot the difference.

The Review

The six manufacturers in question were:

  • Battlefront.
  • Skytrex.
  • Forged in Battle.
  • Peter Pig.
  • Zvezda.
  • Plastic Soldier Company.

Ok a word of warning on my review. It is based on the kits I had

available to me at the time and there are other kits produced by

the same manufacturers which come in varying periods of WWII and

materials.

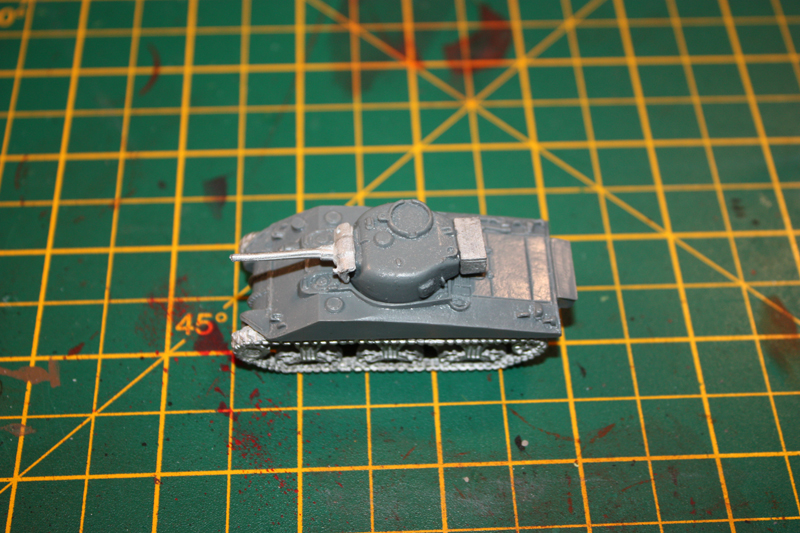
Here are the six kits below :

Click on any picture to enlarge.

Tiger61

So from left to right a quick summary.

First up was the Plastic Soldier Company

This tank came from a box of four tanks priced at £19.50 plus 10% postage.

Its plastic and comes with options to build either early, mid or late which is

a really nice touch. You also get two crew members and stowage options. The

only one query/criticism was the width of the tracks ? They seemed a little

narrow to me ? Plenty of hatches.

Second was Forged in Battle

This is a resin cast that costs £7.50 plus £4 postage. First impression was

that the tank looked a little to narrow. Its also comes based which I am

not a big fan of. Its made of 3 main parts so assembly is quick and you get

one crew member.

Third was Peter Pig

You get a totally metal product coming in at £7 plus £3 postage. It has 6 parts

in total and not a bit of flash on the parts so well done. The tracks have

a clever insert so you are able to attach them in the exact position. You also

get two hatches and a crew member.

Fourth is Skytrex(Command Decision)

Price was £7.70 plus £5 postage. All metal parts and very solid. Criticisms would
be a lot of flash on the rear of the tank and no crew.

Fifth is Battlefornt

Mixed parts of resin and metal and costing £8.99 and £2.75 postage. Best thing

about this was out of all the tanks is gave the best opportunity to customise in

my view. Down side was that some of the parts are very small and extremely fiddly

to attach. Lots of hatches and crew. This is the early version of the Tiger.

Last and not least is Zvezda

Totally plastic and quick to assemble. Cost wise, £6.95 including postage. You

get no crew.

TIGER62

Tiger63

Tiger65

So what’s my verdict ?

Well if I go onto the various forums for 15mm Wargaming and ask

peoples opinion on what Tiger to buy each manufacturer or supporter

of that product sings the praises of their model saying how great it

is compared to the others on the market, but the proof is in the pudding.

And in this case the pudding is going to be the finished model, the thing

you will see at two feet away on a board.

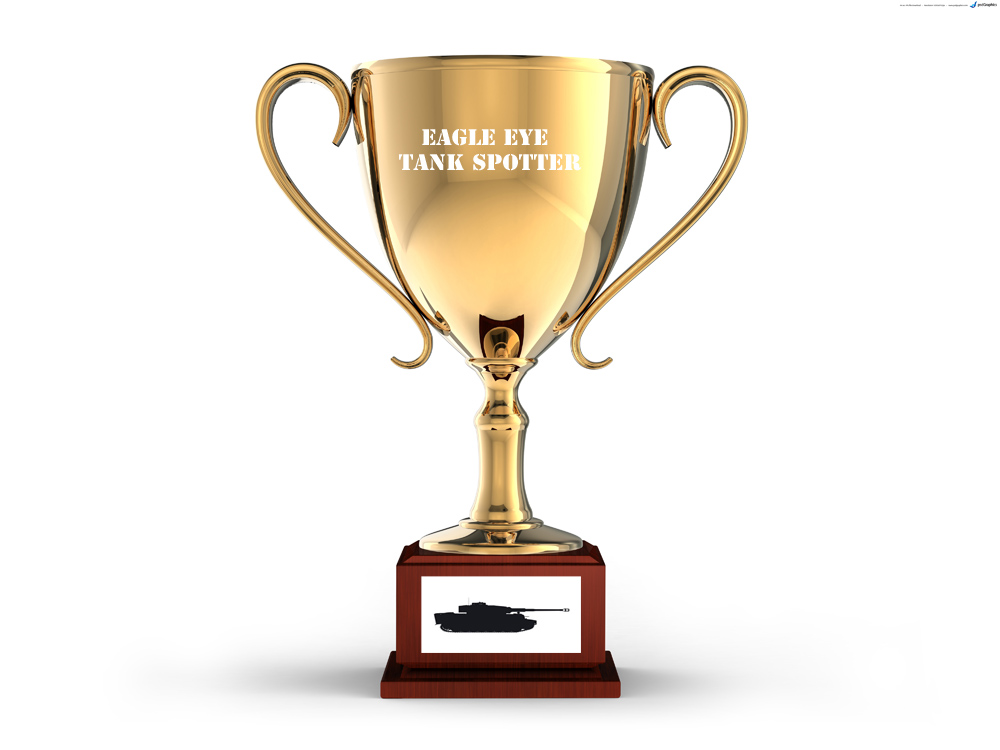
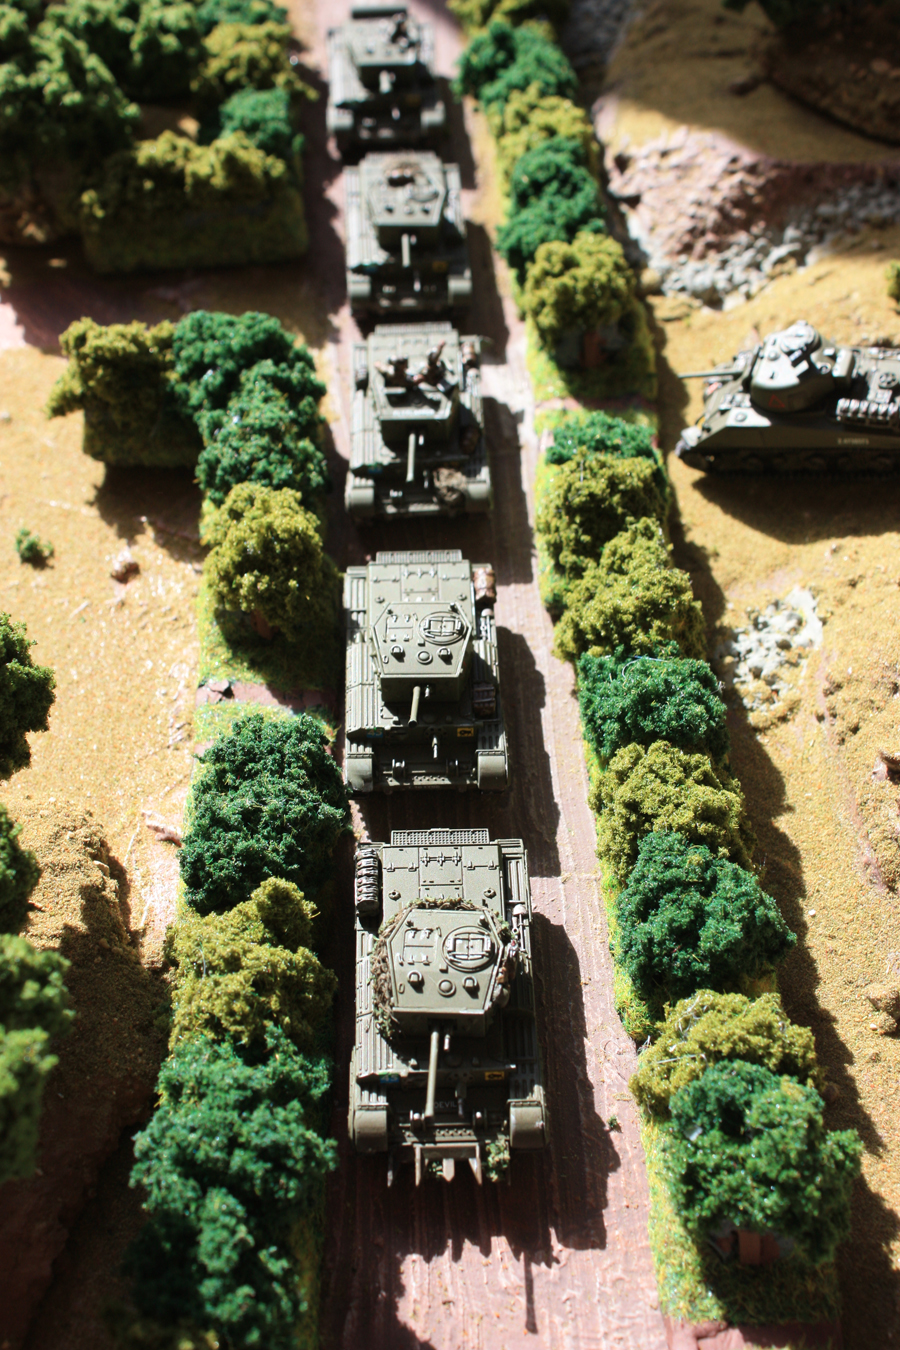
So I challenge you to identify the 6 Tiger tanks that appeared in
my earlier post. What I`m trying to prove is that once on the board nobody
cares who made the model because its all about the finished look and
playing the game, no matter what the bumf in the brochure tells you.

Follow the LINK

trophy

The rules in a nutshell:

Look at the pictures below which contain 6, 15mm Tiger tanks from

Schwer SS Panzer Abt 101 driving down a Normandy road in 1944, made

by various manufactures. The Tigers have been painted, some are

slightly converted and camouflage has been added. So all 6 Tigers

are battle board ready.

Your job is to identify which tank belongs to which manufacturer,
simple ?

All you have to do is post your guess to be entered into the competition. You
must identify the maker of tanks. Each tank has a 3 figure number on the turret
and below it to identify it. You must match the tank number to one of the six
manufacturers listed below.

  1. Zvezda.
  2. Battlefront.
  3. Forged In Battle.
  4. Peter Pig.
  5. Skytrex.
  6. Plastic Soldier Company.

The competition will stay open until the end of June and the winner will be judged by me. In
the case of a draw the names will be put into a hat and a winner drawn out. Only one guess
per person is allowed.

The winner will receive a Battlefront 15mm Tiger Tank.

The pictures:

Click on any picture to enlarge:

Comp1

Comp2

Comp3

Comp4

Comp5

Comp6

Comp7

Good luck everybody.

I have been wanting to do a tutorial on painting

for ages and I finally remembered to take photos of

my work as I went along. This tutorial is aimed at

getting a basic to good standard on a 15mm Sherman or

any allied vehicle without using an airbrush. I use

a combination of Vallejo and GW paints.

Step 1: I assembled more or less entire the tank.Some

people leave the tracks off for painting.

Click on any picture in the tutorial to enlarge.

Tut_4

I sprayed the

entire tank with Chaos Black primer. Leave for 24hrs.

Tut_5

Step 2: Using a brush touch up any areas that the spray

can missed with Chaos Black GW paint. Just brush it on.

Step 3 : With a flat brush gently brush on Vallejo 924

Russian uniform over the whole tank. Please note at this

stage its not going to look great but bare with it. Also ensure

you brush strokes are in one direction down the length of the tank.

Tut_6

Tut_7

Step 4: Another coat of Vallejo 924 exactly the same

as before. It should now start to look better.

Step 5: Finally another coat of 924 and the colour should

be perfect.

Tut_8

Step 6: GW Agrax wash(basically a black wash). Gently put

it in all the small gaps and places shadow will sit. Do

not wash it all over the tank ! Don’t forget to do the tracks and

areas in-between and behind.

Tut_9

Tut_10

Step 7: Drybrush 886 Vallejo Green Grey using a flat brush

over all the raised parts. This will give you a good

highlight against the 924.

Tut_12

Step 8:
Decals time. Carefully cut out to size and put on

your decals. I put mine on with Micro Set and leave them to

dry over night.

Tut_13

Tut_15

Step 9:
Next up is the tracks. Some people as mentioned add

the tracks later making it easier to get your paint brush into

the area under the mud guards. Its up to you but I find it

possible with a small brush. Paint the tracks black.

Tut_16

Step 10 : First I use a HB pencil to literally

draw on the tracks leaving a silver shiny track look. Don’t go mad.

Tut_17

Step 11: Vallejo 818 Red leather dry brushed(small amount) onto the

tracks.

Tut_18

Step 12 : I then stuck on the wooden stowage and painted it Vallejo

Flat Brown. You can paint the tool handles at the same time. Later

highlight with GW Tallarn sand or Vallejo New Wood.

Tut_19

Step 13 : Tool heads and clasps are painted GW Leadbelcher and later

highlighted with GW Chainmail. Finally add an agrax wash.

Tut_20

Tut_21

Step 14: Optional weathering. Light dry brush of Flat earth on tracks

and lower running gear and bottom areas of the tank.

Tut_22

Step 15: Optional adding crew. The commander was added and I used GW

green stuff to back fill the large gap in the commander’s cupola and help

stick the twin opening hatches on. The commander was painted with English Uniform

followed by an agrax wash. I used GW Tallarn sand for highlights.

Tut_23

Tut_24

Step 16 : Testors Dullcote varnish spray to make sure your paintwork is

protected.

………………………………………………………..
I hope this tutorial was helpful and will make it easier for some

people to get started in the hobby without having to become master

painters. The picture below is what the finished product looks like

with a nice backdrop behind it and in the correct lighting conditions.

I think my tutorial pictures had a bit too much light in them giving

the tank an incorrect shiny look.

Tut_30

Happy painting .

More 15mm tanks from Plastic Soldier Company,but this time with

single tracks :).The PSC box comes with 5 Cromwells and plenty

of choice to make each vehicle different. I have added some different

crew and stowage made from cheese cloth again. Some of the cheese cloth

has scatter stuck on to make it appear like foliage. One small

criticism of the PSC model is that the front glacial(location of

45 and Black Bull) plate of the Cromwell is very narrow making it

hard as hell to fit a decal on.

My Cromwells belong to 11th Armoured Division but are 2nd Northamptonshire

Yeomanry as they provided Recce along with 15/19th Kings Royal

Hussars.

Click images below for larger picture.

Enjoy 🙂
IMG_6297a

IMG_6318a

IMG_6323a

IMG_6324a

IMG_6331a

IMG_6332a

IMG_6334a

IMG_6335a

IMG_6336a

IMG_6339a

IMG_6340a

IMG_6341a

IMG_6349a

Joining my 3 Fireflys are the meat and veg of the Allied

tank force the Shermans. M4A4`s to be exact and made by

Plastic Soldier. You get 5 plastic tanks for £18.95 and lots

of detail. My only issue was the tracks that come is 3 parts

and are a nightmare to be honest. It seems later kits have now

been changed to one solid plastic cast of the tracks, most likely

due to people like me moaning.

Anyway as before the Shermans are marked up as 11th Armoured Division,

23rd Hussars Regiment.

Click on picky to get a bigger size.

IMG_6231a

IMG_6232a

IMG_6233a

IMG_6241a

IMG_6242a

IMG_6248a

IMG_6249a

Hope you like them ?

I`m going to stick with 11th Armoured Division as I build my Normandy bocage

and terrain boards(I`ve actually already started but as of yet to got round

to getting the photos up) and I need some Cromwells and Stuarts. According

to my info 11th Armoured Division had 44 Stuarts,71 Cromwells, 175 Shermans,

36 Fireflys,28 Crusaders and 3 Valentines.So I better get building.