Sorry if you thought I was done but I needed
another two boards. Specifically I wanted a
river/stream, a bridge, trenches and just a bit
more bocage.
To save time I borrowed two old flat terrain
boards from the shed and started converting
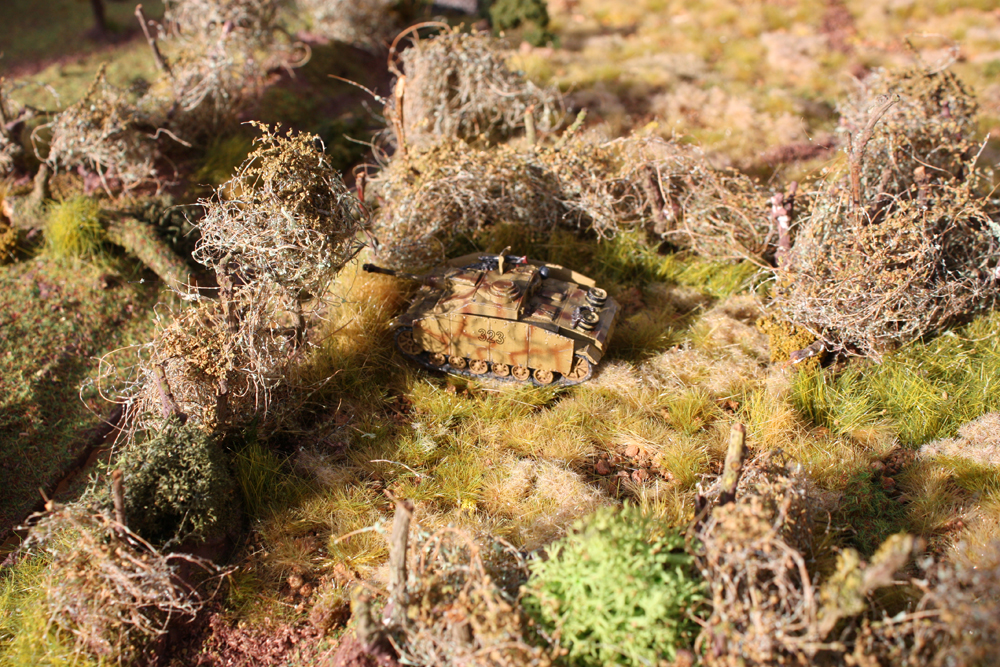
them. I have made and painted the bridge and
found a pillbox going spare which will look
right at home hidden in undergrowth.
Click on a picture to enlarge :

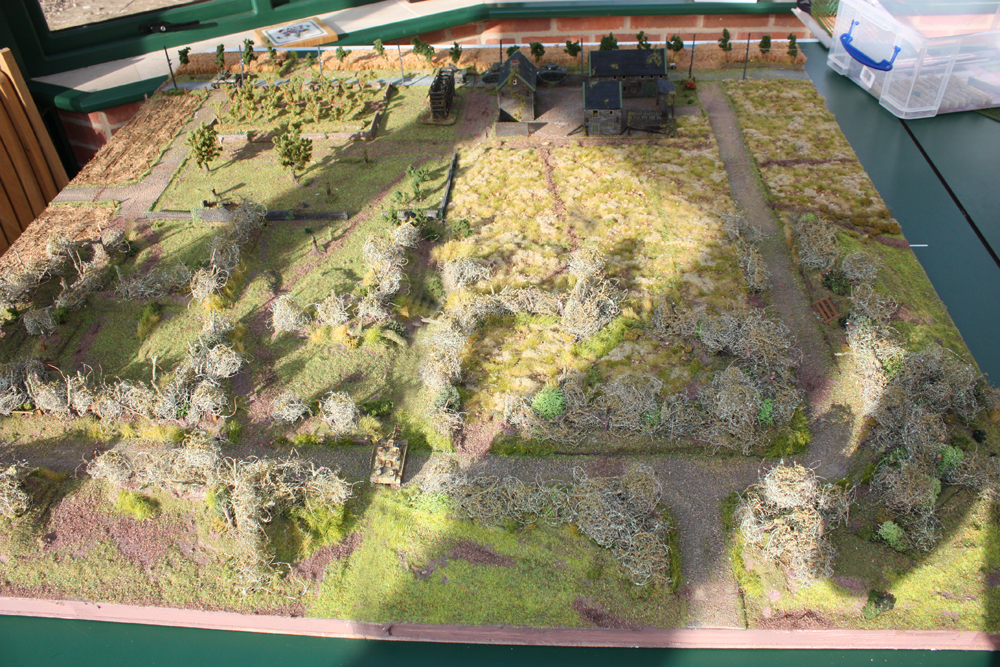
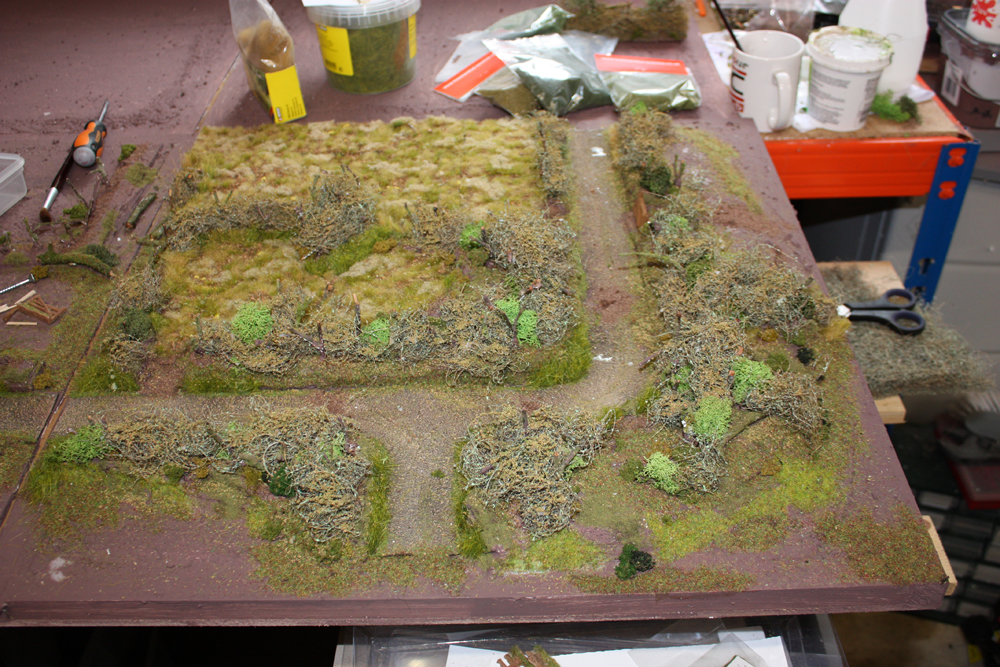
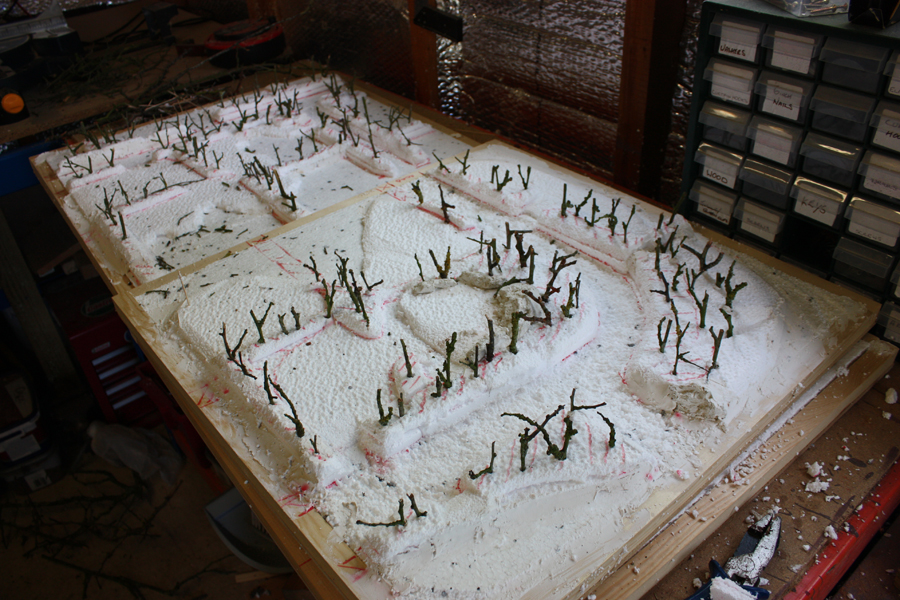
The two boards look a bit rough but bare with
me because as mentioned they have been re-used.
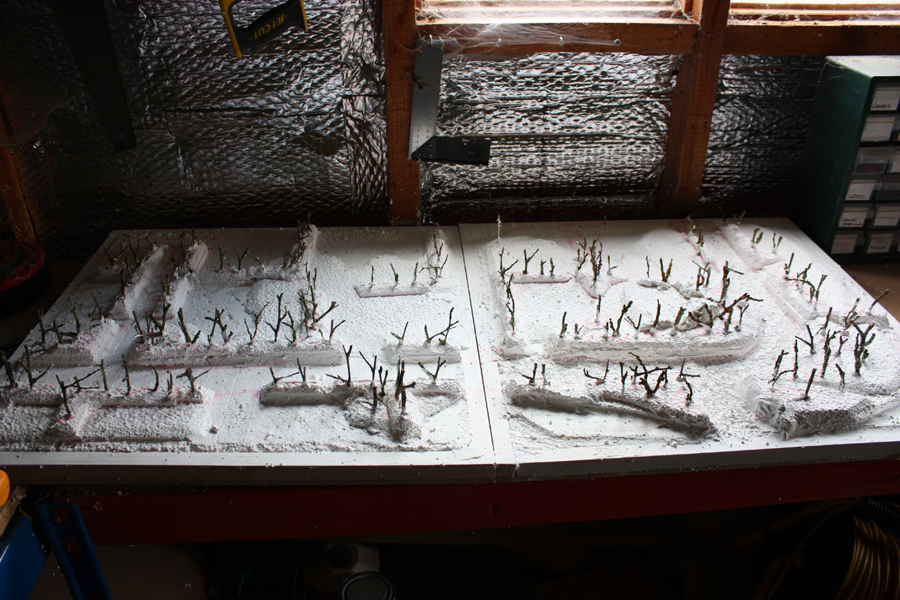
The first board sits on the left and contains the
trench system I am currently building out of balsa
wood. Its raised ground so will be able to cover
and arty spot all six boards eventually. It will
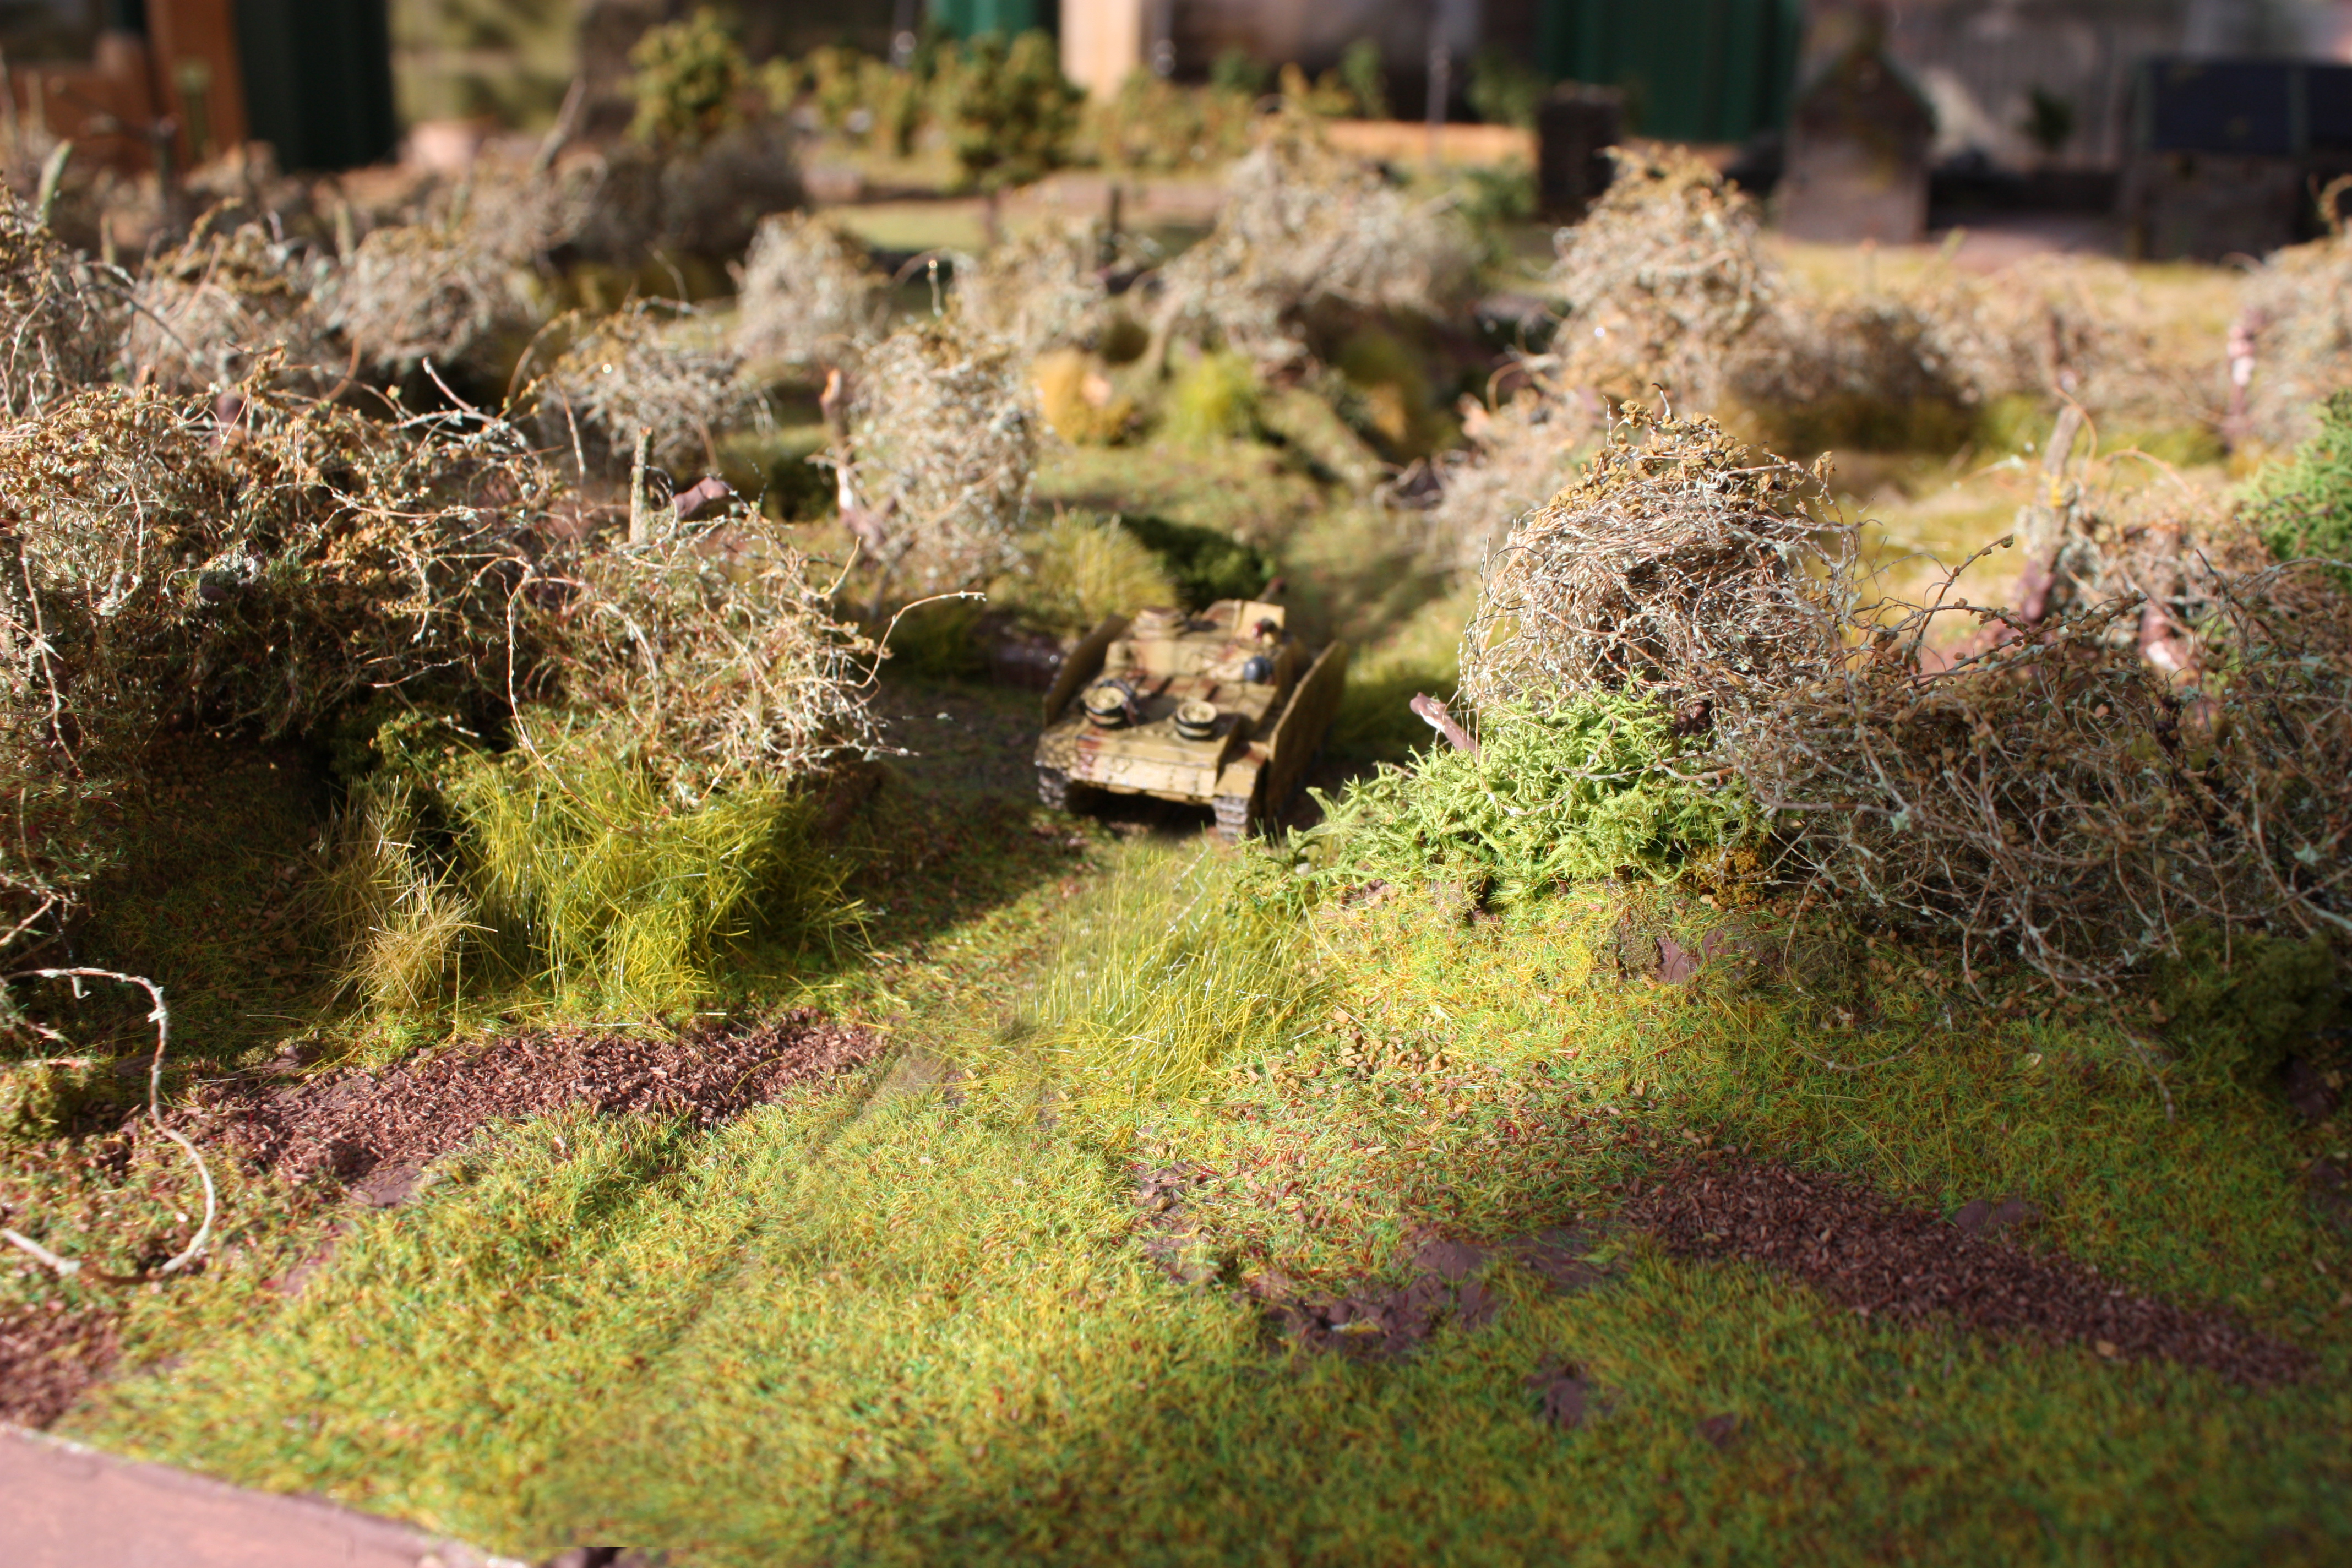
also be buried under bocage and have a stream
running above it as marked by the stick.
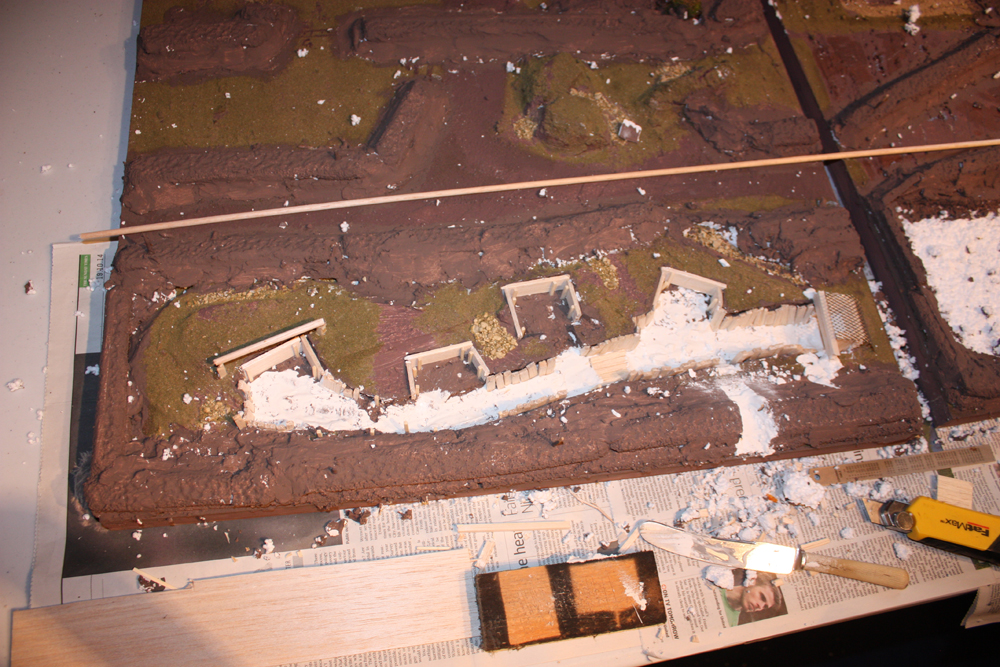
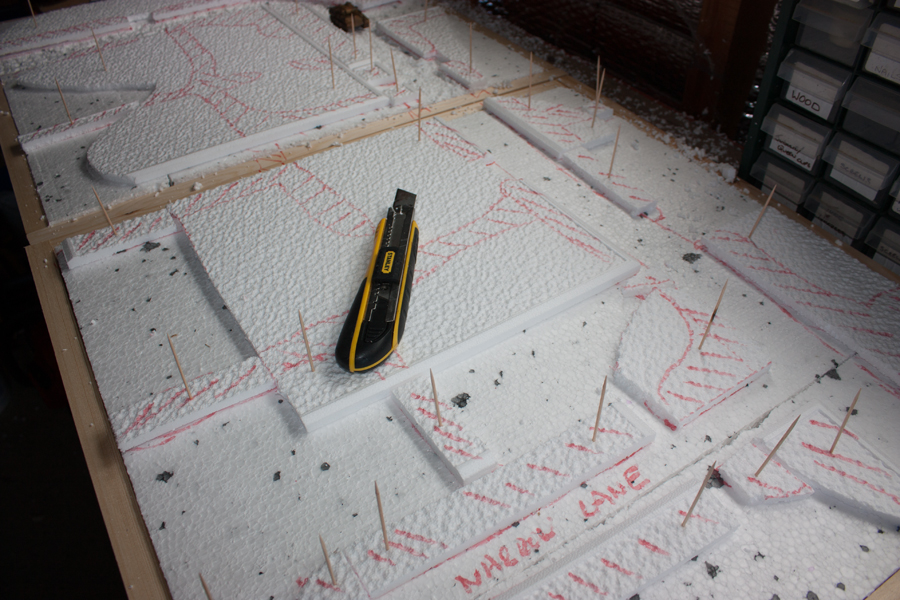
The trench will go under ground at the right hand
side of the board and reappear on the next board.
This way the join marks are nicely concealed 🙂
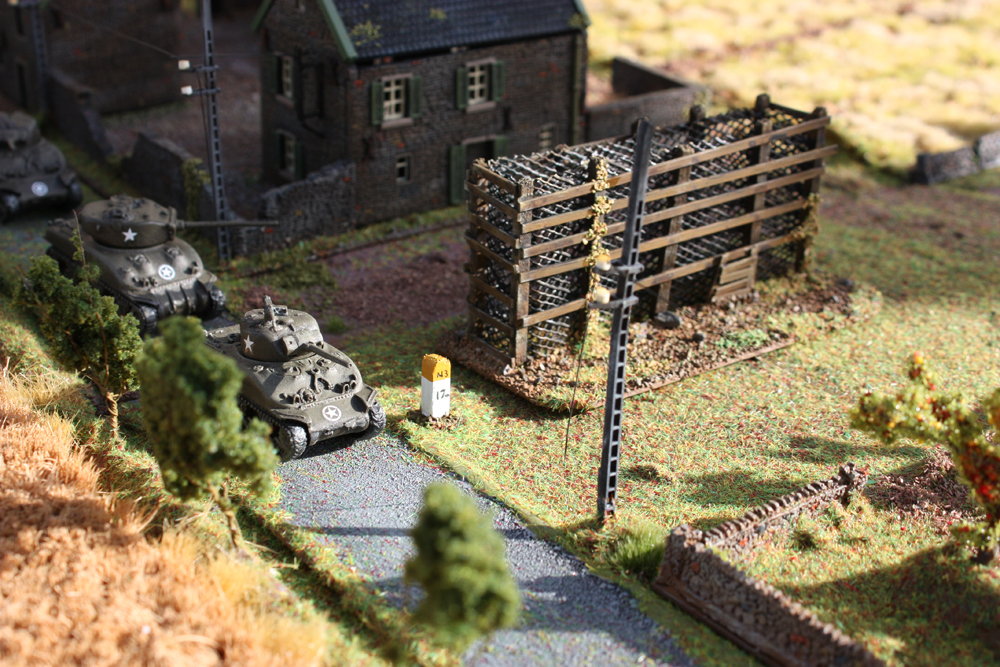
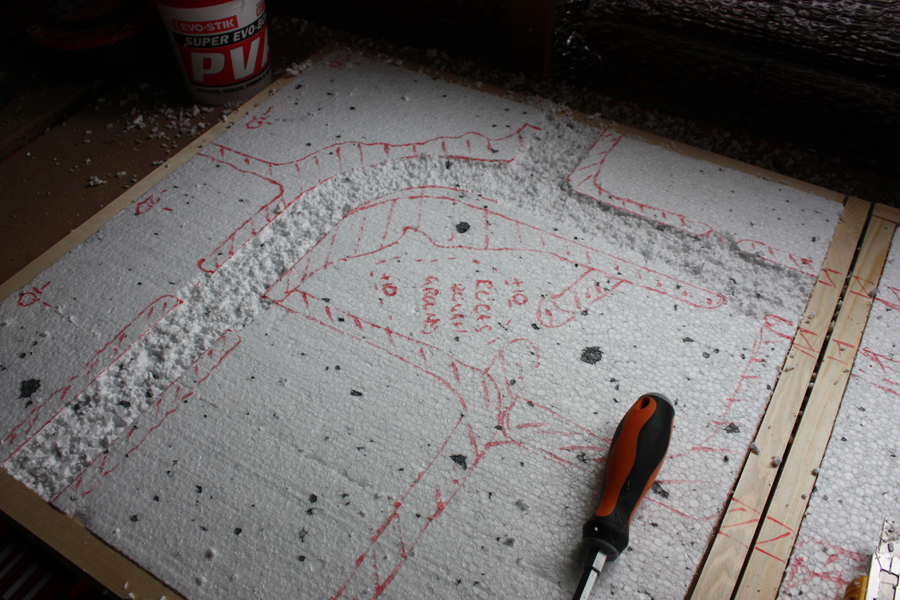
The board on the right has two artillery emplacements
either side of a road with the stream running in front
of it with a bridge.
The trench system comes in from the left side.

Sorry if the pictures are hard to understand,
but all will become clearer shortly.