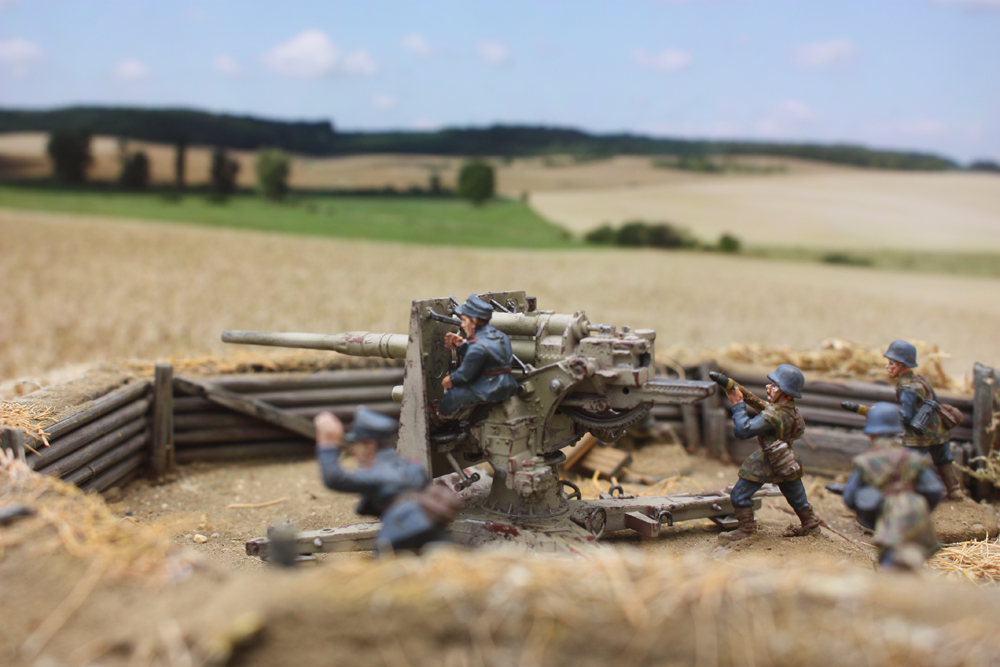
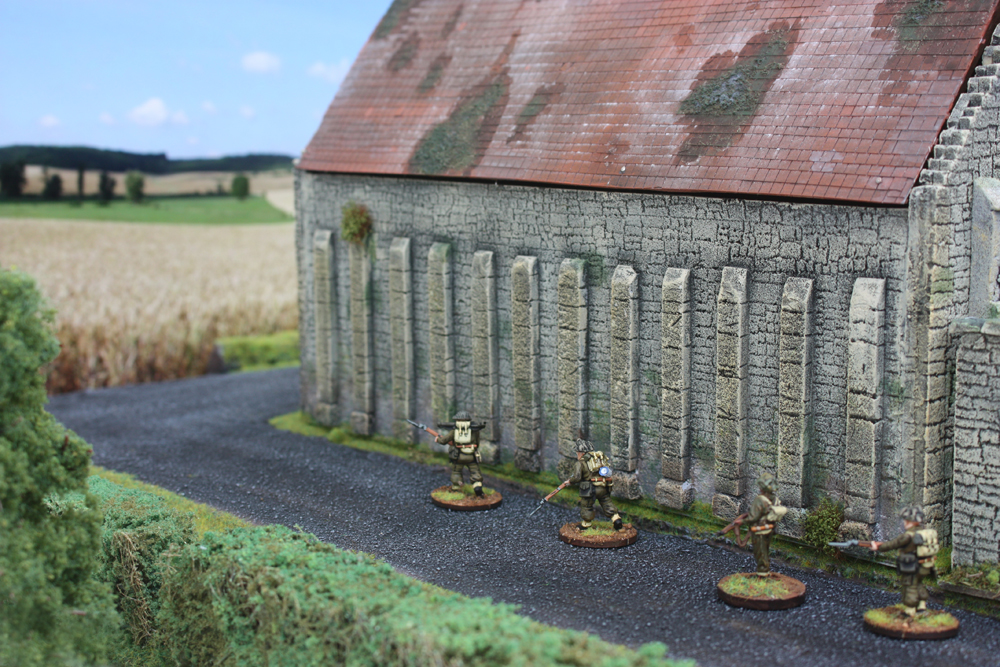
Following on from research into my scratch built barn for Crepon it came to my attention that a lone 88mm gun was left to defend the South West corner of Crepon as the allies advanced inland from the Normandy landings on D Day. Many of the units defending the area were mixture of adhoc groups desperately assembled to stop the Allied advance and my 88 gun made by Warlord Games is the Luftwaffe Field Division 8.8cm 37 Flak representing the mixed opposition.
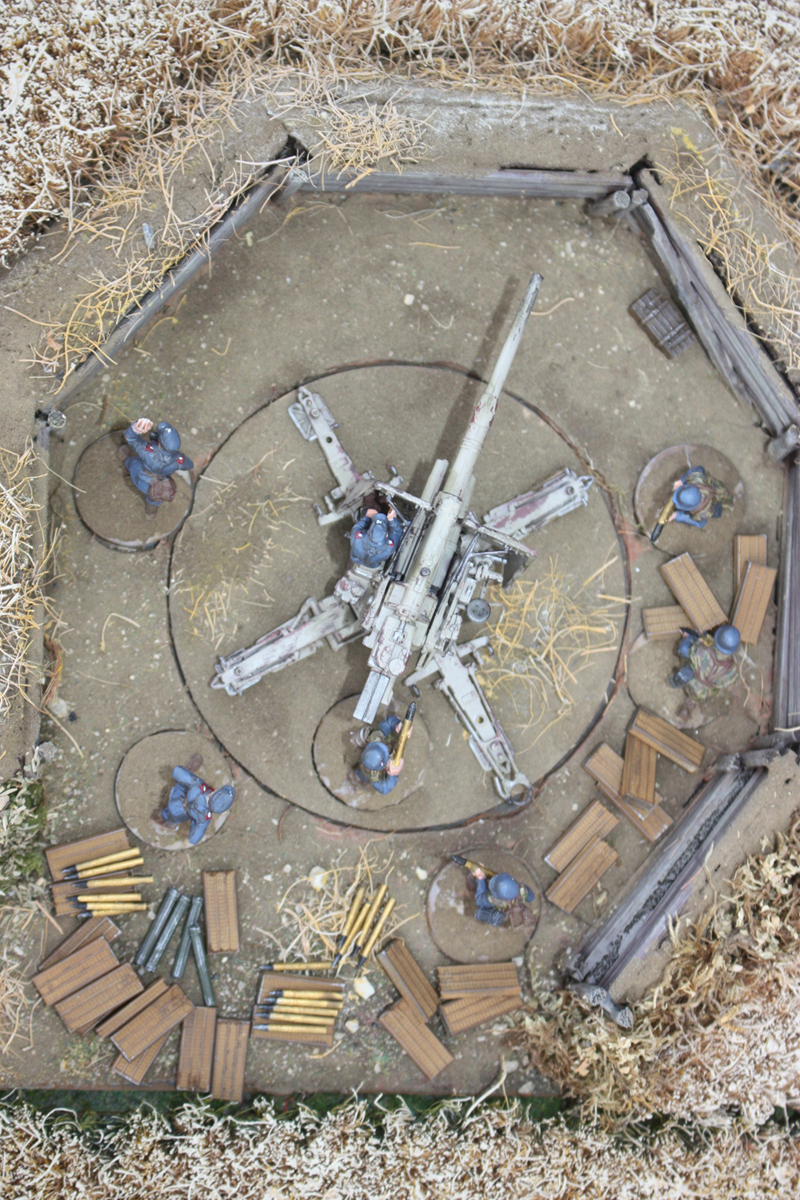
I made a simple bunker from styrene and kebab sticks and based it on a plasticard base. The individual bases were cut out to fit so the figures and gun could be revolved or removed for easy storage. The wheat around the bunker is front door mat cut up into strips and the aim was to fit the bunker seemlessly into the larger wheat fields of terrain which hopefully I have achieved ?
One thing I noticed on real pictures of 88mms in action was the huge amount of used and spare ammunition lying around so I found somebody to 3D print me the additional wicker baskets and rounds.
Finally I photographed the 88mm with a simple wheat field backdrop photograph behind it and it blended in quite well. This was most likely the unfortunate issue the Allies tanks faced as they advanced inland on raised roads,only becoming aware of the enemy 88mm after they had been hit.