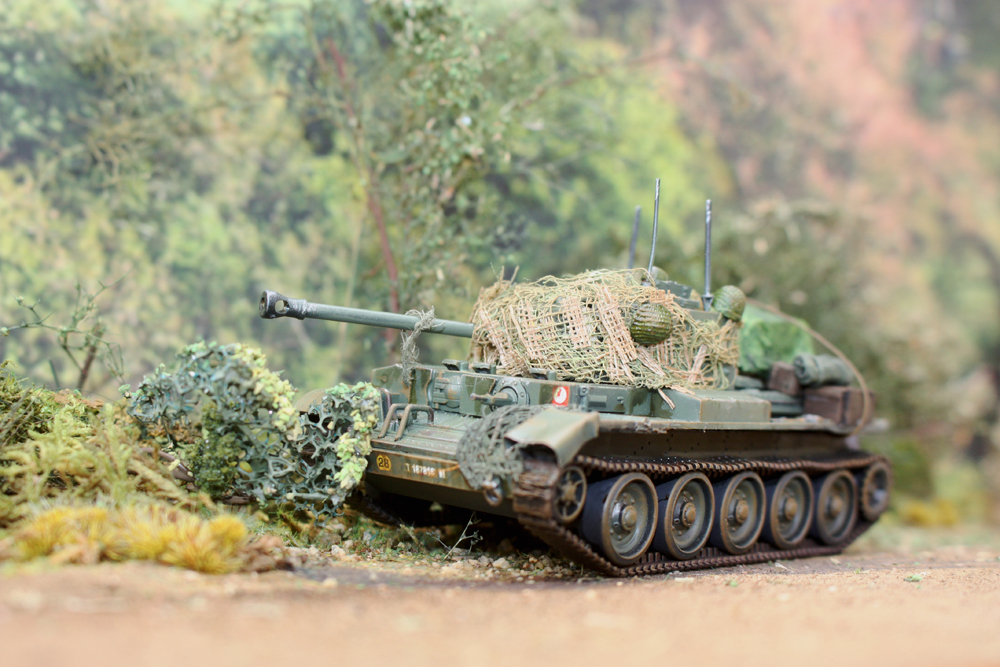
Another Warlord kit, this time bought off fleabay fully assembled. All it needed was some paint and some Normandy battle weathering.
For a bit of fun I photographed it on recycled diorama base and stuck a backdrop behind it. I find it useful to keep wooden plinths spare so you can display models effectively. The plinth is seperated from the ground my a thin sheet of plasticard thus you can swap stuff about when bored without having to prize it off the plinth.
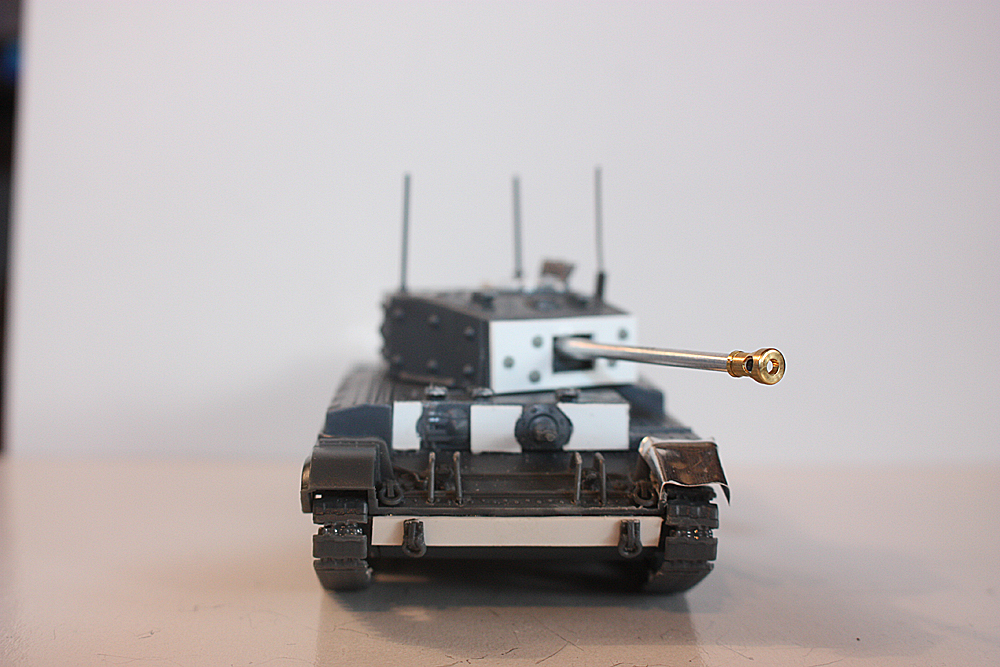
Recently finished work on this up armoured Cromwell tank using a bit of plasticard. The plasticard is where all the additional armour was placed increasing the armour from 76mm to 102mm. Seems these Cromwells were rare and were basically Cromwell IVs seam welded instead of riveted with additional applique armour added. Identified as a mark V(not to be confused with the MK VII which had improvemnets but no additional armour) the only real way to identify them was via the WD mark ending in a letter “W”. I also replaced the gun barrel with a 1/48 brass 75mm QF. Also decided to make a quick dio based on the black and white photo showing,”Gladys” from 1st rtr near Aunay-sur-Odon ,Normandy 1944.
Had fun making this Warlord kit , hope you like it ?
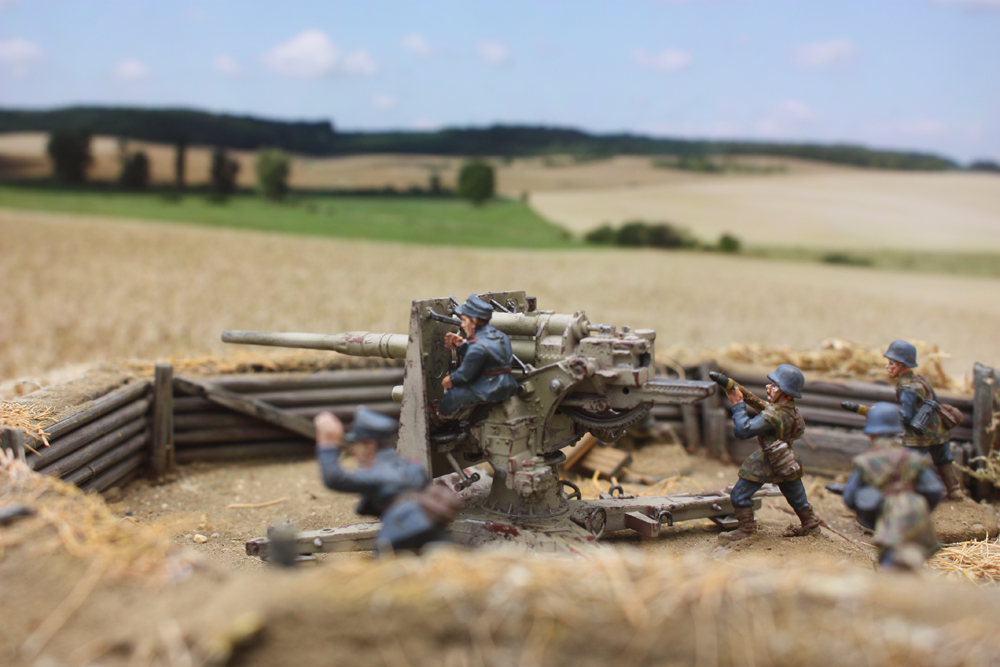
Following on from research into my scratch built barn for Crepon it came to my attention that a lone 88mm gun was left to defend the South West corner of Crepon as the allies advanced inland from the Normandy landings on D Day. Many of the units defending the area were mixture of adhoc groups desperately assembled to stop the Allied advance and my 88 gun made by Warlord Games is the Luftwaffe Field Division 8.8cm 37 Flak representing the mixed opposition.
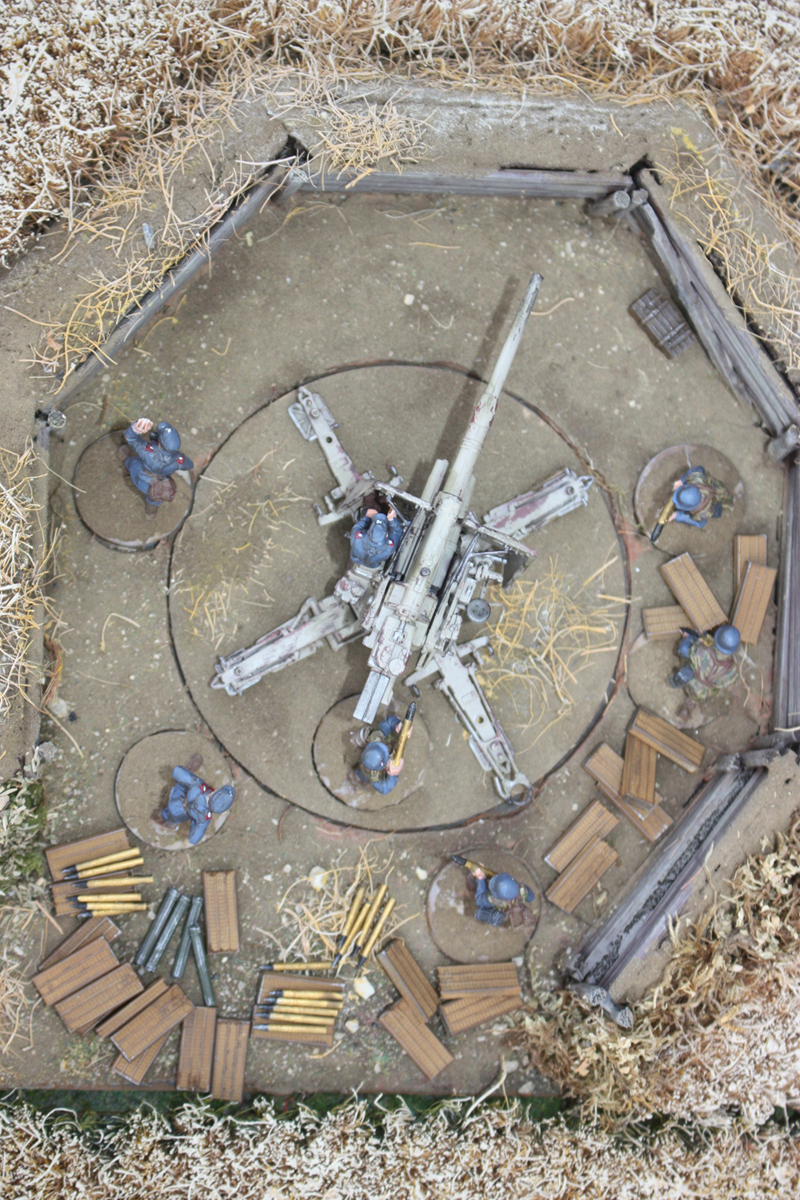
I made a simple bunker from styrene and kebab sticks and based it on a plasticard base. The individual bases were cut out to fit so the figures and gun could be revolved or removed for easy storage. The wheat around the bunker is front door mat cut up into strips and the aim was to fit the bunker seemlessly into the larger wheat fields of terrain which hopefully I have achieved ?
One thing I noticed on real pictures of 88mms in action was the huge amount of used and spare ammunition lying around so I found somebody to 3D print me the additional wicker baskets and rounds.
Finally I photographed the 88mm with a simple wheat field backdrop photograph behind it and it blended in quite well. This was most likely the unfortunate issue the Allies tanks faced as they advanced inland on raised roads,only becoming aware of the enemy 88mm after they had been hit.
This is the start of a very long line of unpainted/unfinished bits and pieces that have been gathering dust just waiting for the light of day. To be honest I cannot even identify half of the furniture but it is pretty generic stuff for 28mm gaming. The long bench for sitting is scratch built.
The two figures are Mialee with the staff and Lidda with the bow from the board game Dungeons and Dragons,produced by Parker.
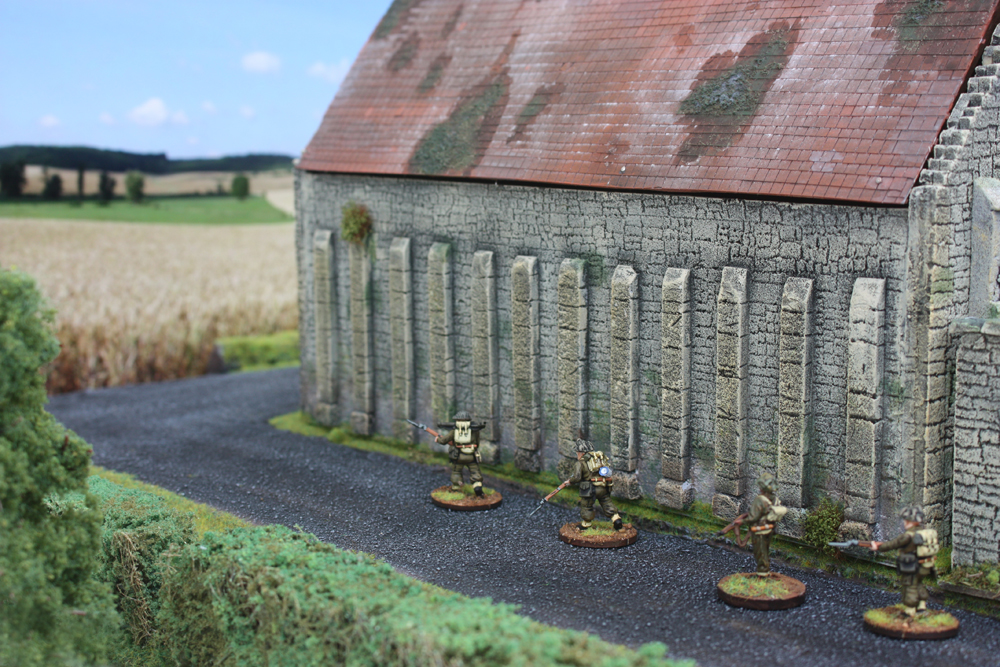
The Tithe Barn in Crepon, Calvados has been around since the early 1500s and is still standing to this day. I spotted the barn on a random Google maps search and immediately fell in love with it and had to try and recreate it for my wargaming board. It fits in perfectly as a unique bit of table top terrain and has the advantage of being multi purpose as covers anywhere from 1500 up to present day. My immediate aim was to drop it onto my WW2 Normandy board.
By a stroke of luck I discovered the barn actually played a small part in the Normandy landings shortly after Crepon was caputured as a Rafadrome. A Rafadrome was a theatre created by the RAF Beach Squadron for some much needed R&R for the troops after battle. Click on the attached link for more information: https://rafbeachunits.info/units/uk-beach-squadrons-april-august-1944/4-beach-squadron/rafadrome/
The barn walls are constructed of foam card including the external buttresses. The doors are made from balsa wood and the roof is plasticard ,covered in York Model Rail roof tiles. The internal roof beams/joists are also made from balsa wood which has been shaped and stained to give the look of age old wooden beams. I hope I carried off the effect ?
Boths sets of doors fully open for gaming purposes and the roof lifts off easily as well. The roof basically sits on the foam card walls via gravity.
A bit of Crepon WW2 history to set the scene. Crepon is 6.5 km inland from the Normandy beaches and on the 6th of June 1944 was held by 7. Kompanie, Grenadier-Regiment 736, 716. Infanterie-Division,4. Kompanie, Ost Battalion 441, 716. Infanterie-Division and 2/Artillerie-Regiment 1716, 716. Infanterie-Division. Crepon was attacked on the 6th of June by 7th Battalion Green Howards Regiment, 69th Infantry Brigade, 50th Infantry Division and 4th/7th Dragoons Guard, 8th Armored Brigade, 50th Infantry Division and was captured. After being taken Crepon became a supply/assembly area for fresh forces arriving from the beaches.
Enjoy the pictures.
Crepon tithe barn1Crepon tithe barn 2Crepon tithe barn 3Crepon tithe barn 4Crepon tithe barn 5Crepon tithe barn 6Crepon tithe barn 7Crepon tithe barn 8Crepon tithe barn 9
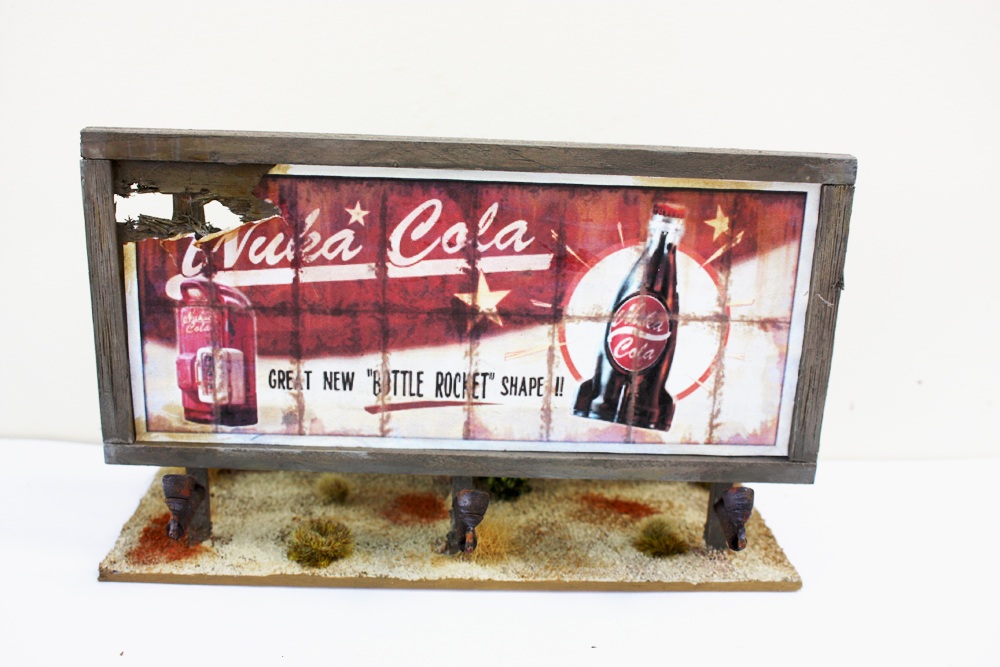
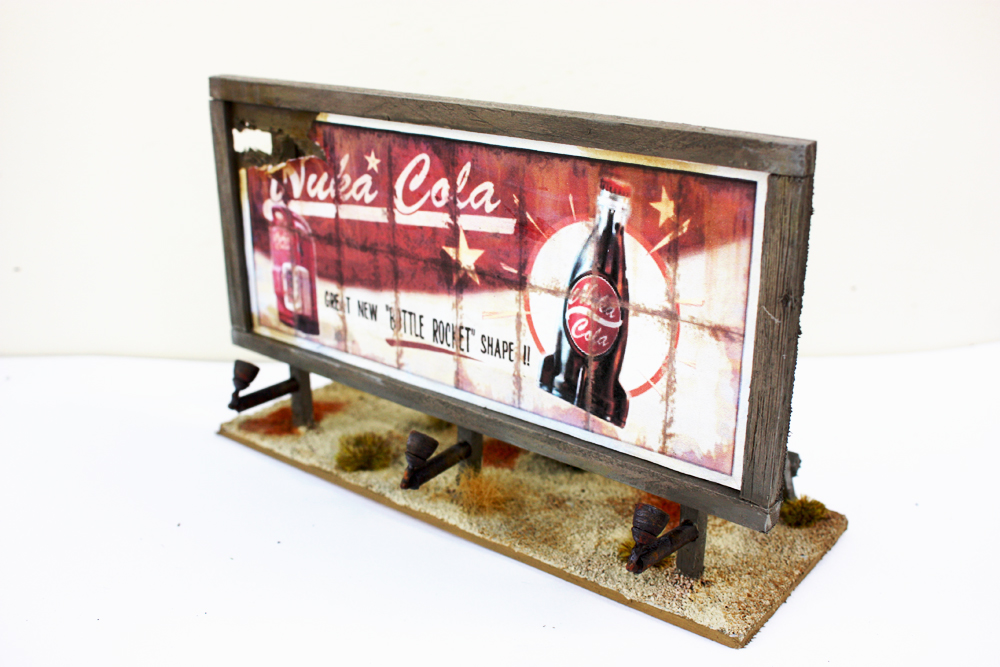
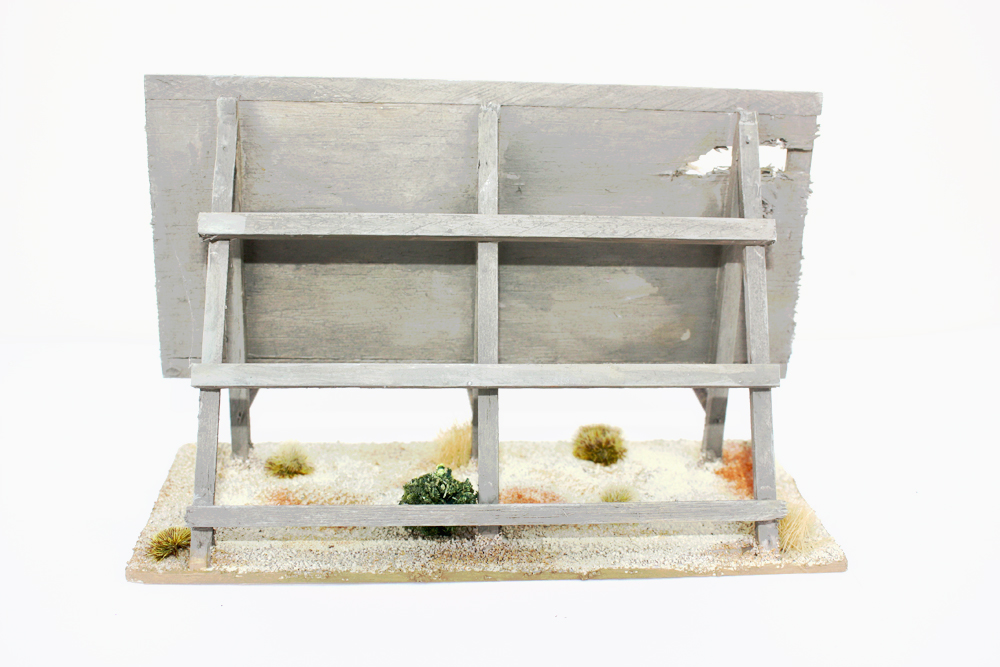
I scratch built this terrain for wargaming in the post apocalyptic wasteland. Its ideal for Fallout Wasteland Warfare by Modiphius but would suit any Fallout themed game.
The billboard was constructed from simple balsa wood and the spot lights are pinched from HO model railway platform lights. The “Nuka Cola ” advert was simply printed from the internet and resized to fit. I added a few holes for weathering. The base is made from plasticard and a bit of model railway ballast.
Nuka Cola billboardNuka Cola billboardNuka Cola billboardNuka Cola billboard
Small update of the project so far. The pictures taken show the first time I have put the whole thing together with surroundings just to get a feel for the project and how it all links together. Lots of work still to do inside and the roof needs a bit more work but apart from that its coming on nicely.
After completing the build on my Churchill and Panther tank and builing a large batch of walls,what better excuse for a quick diorama to show them off.
The diorama is based on a real event that took place in the village of Tilly-Sur-Seulles on the 18/19th June 1944. The 2nd Essex Regiment were assualting the village with support from the 81st Assault Squadron RE. The Churchill AVRE unexpectedly came upon a chance encounter with a Panther tank and fired a snap shot at it unfortunetly missing, but striking a near by telegraph pole or tree and thus destroying the Panther tank.
The diorama wall was simply made from foam card and the tree behind the wall is scratch built from wire. I used a simple photograph as a backdrop. The black and white photograph is actually a real shot taken in Tilly after the battle.
Although not easy to see, the dust behind the Churchill tank is made from Poly Fill which was sprayed cream and then had the dust/dirt from the road glued onto it.
Both tanks and figures are 1/56 scale made for Bolt Action gaming.
Tilly-Sur-SeullesTilly Sur SeullesTilly Sur SeullesTilly Sur SeullesTilly Sur SeullesTilly Sur SeullesTilly Sur Seulles
Elder Scrolls Call to Arms is the board game version of the game made by Modiphius which uses 32mm figures in a skirmish type system of game play.
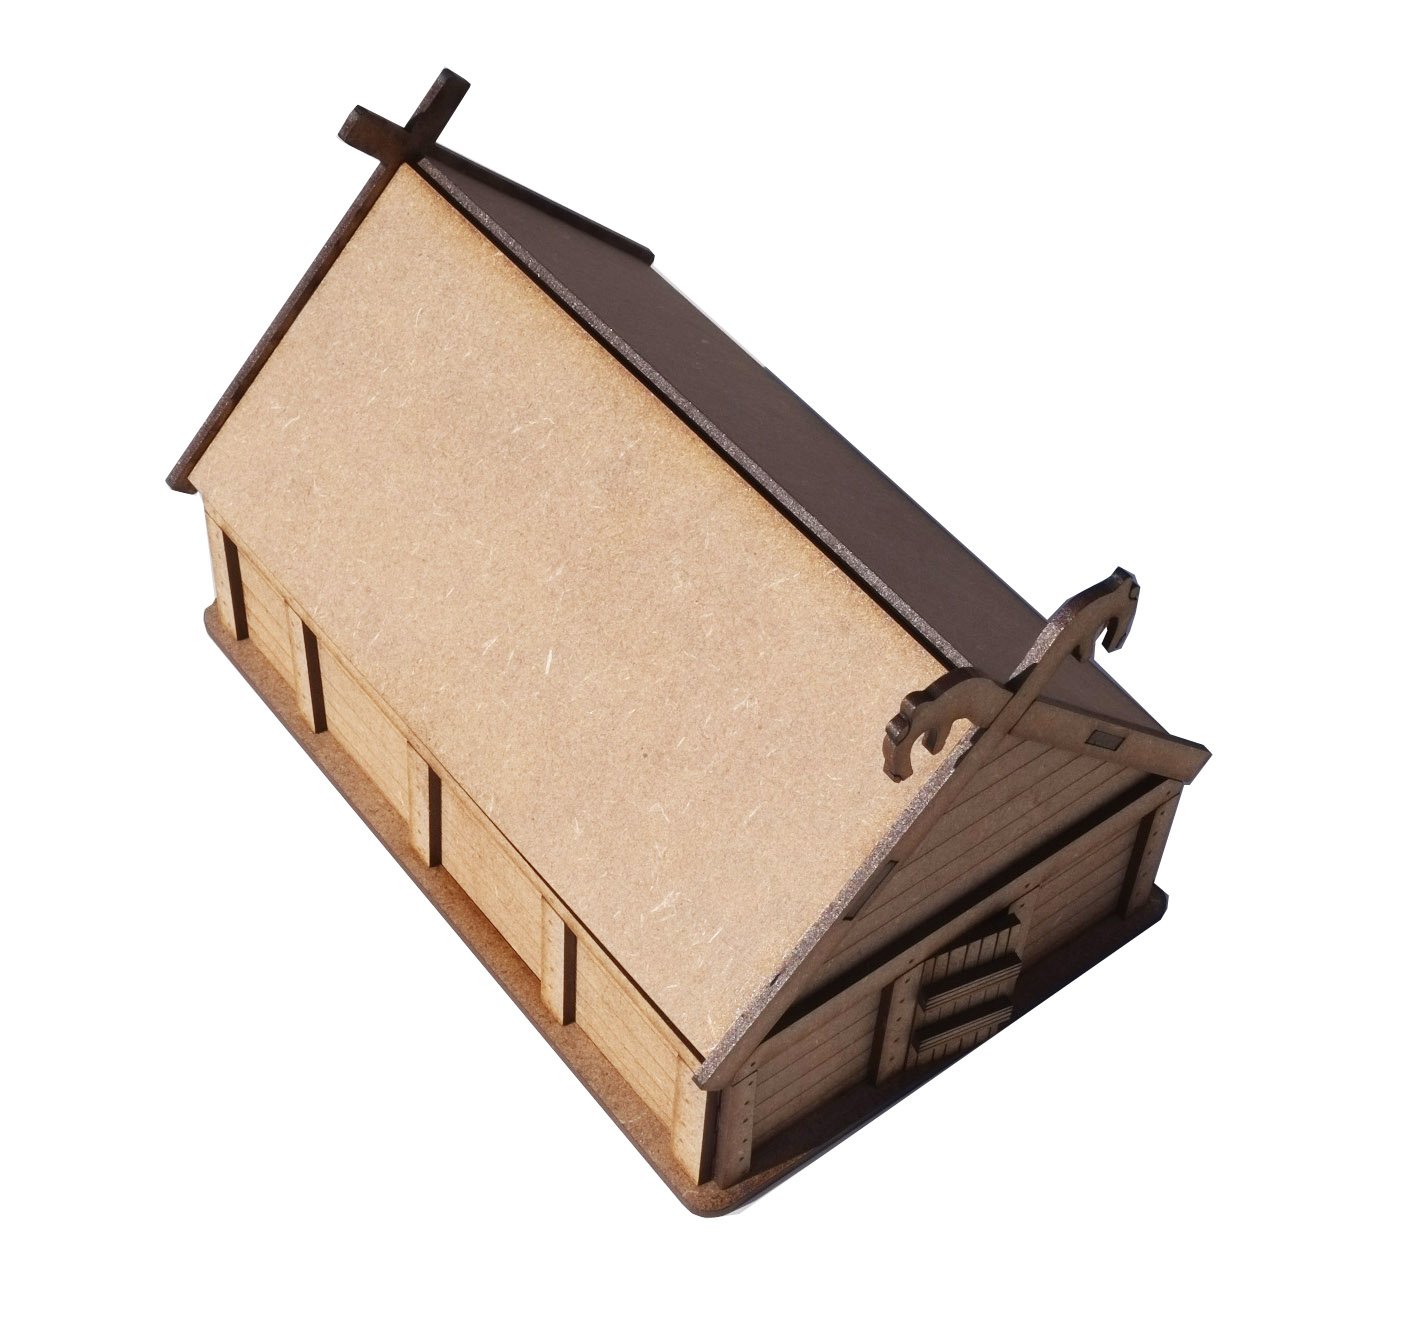
They make a limited amount of terrain and I wanted to re create a small house commonly found in Skyrim. Timeline miniatures provided me with an ideal starting frame using a Viking Hut from their Saga series of games. Houses in the Nord parts of Skyrim have a Viking look and theme to them so it was ideal for the initial shape.
I basically clad the hut in model wood planking and created a veranda using balsa wood and cock-tail sticks. Balsa wood was also used for the top wood bit on the roof and faux fur for the thatch roof.